Tuesday, June 17, 2014

"Zudbubbler" Bass Popper

Inspired by Tom Loving's early 20th century bass popper the "Gerbubble Bug", the Zudbubbler features the unique square head design that makes a hearty pop with very little movement. It's tapered design makes it easier to cast and causes less interference with hook sets, and the many rubber legs make it an irrisistable treat that Large and Smallmouth Bass find too good to pass up. The steps below will guide you through the tying process I use but by all means, get creative! Feel free to email me with your comments or questions at matt@mattzudweg.com


The supplies above are my favorites for tying the Zudbubbler. If you don't have a Zuddy's Leg Puller you can use a bodkin and thread puller... it just takes longer. Green, Chartreuse, Yellow and Black are my favorite ZB body colors, but I have caught numerous bass on every other color offered as well.

Step 1: Using the Leg Puller, poke a hole through the ZB body from back to front keeping it as centered as possible.

Step 2: Slide the ZB body onto the hook and attach your thread (6/0 Uni-thread or similar) just behind the body. This will help you keep track of where the body will be glued later.
(Don't use gel spun thread for this fly as glue will not hold to it as well)

Step 3: Add your favorite color of marabou to the top of the hook, being careful not to advance forward of your starting point yet.

Step 4: Double over a rubber leg and tie it in on the side of the hook. Repeat for the other side as well.

Step 5: Tie in a webby schlappen feather by the tip, color is your choice. I like a color that is contrasting to the popper body and marabou feather.
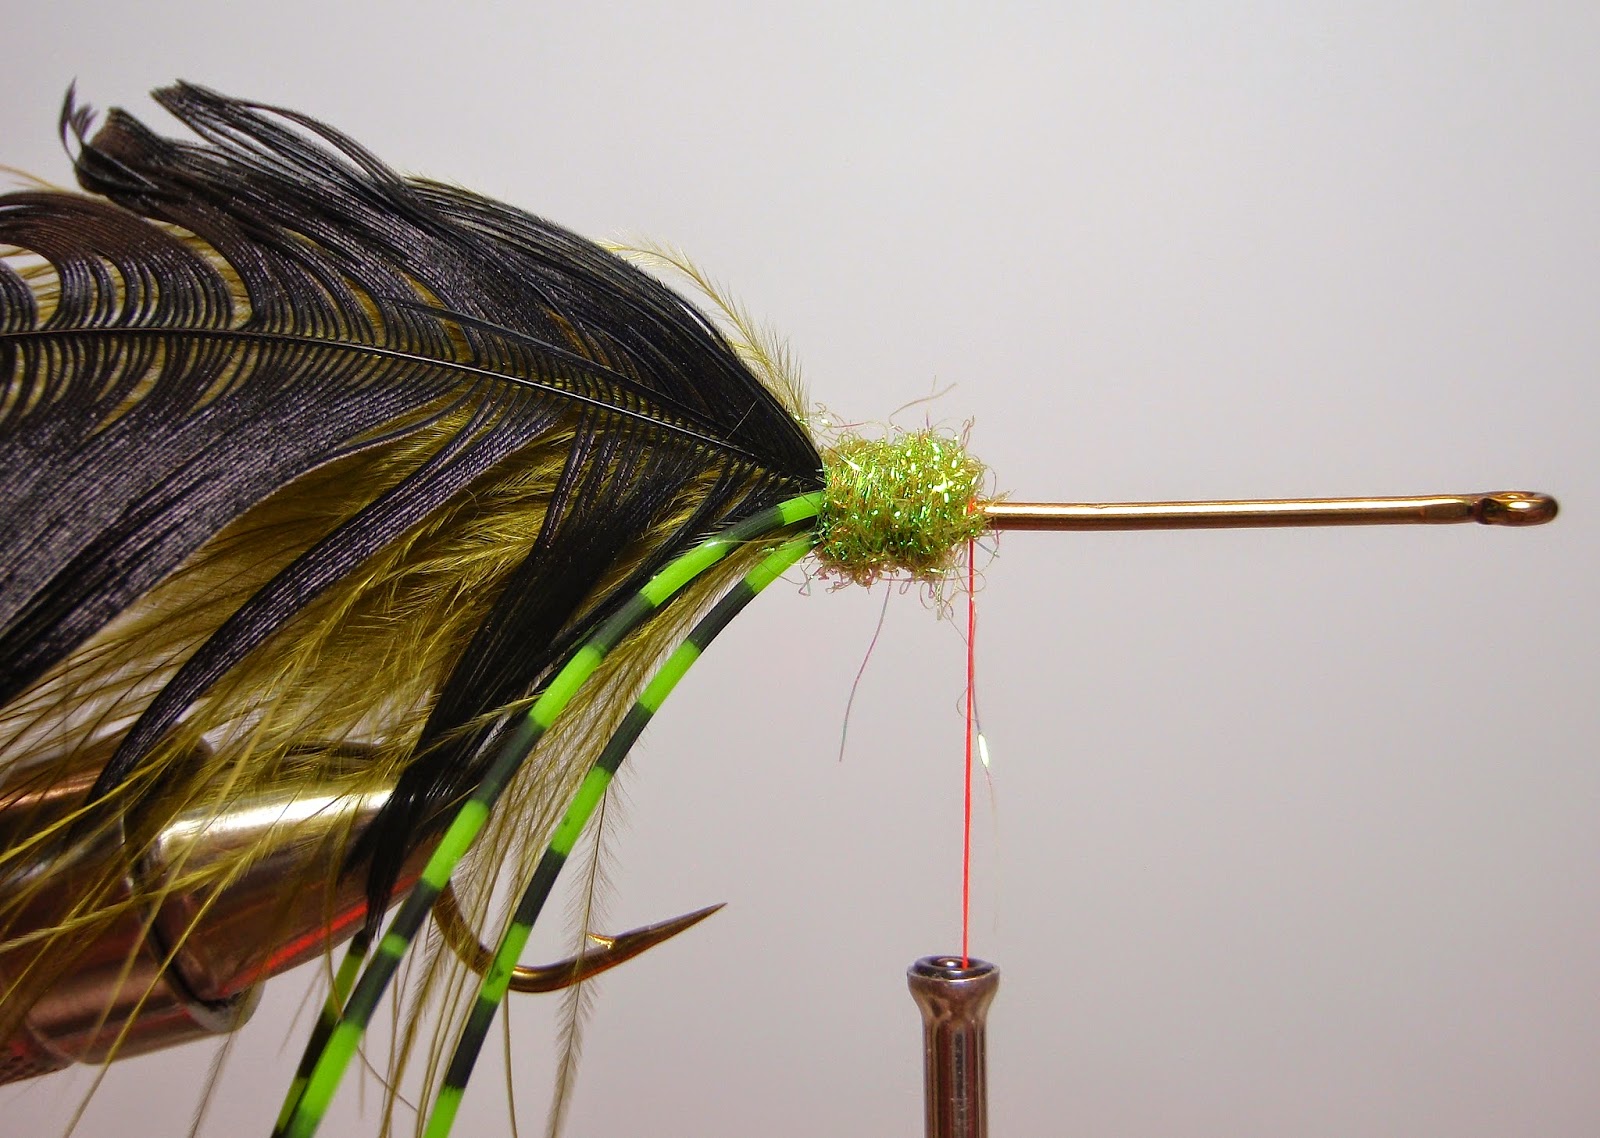
Step 6: Wind some dubbing onto your thread (Ice Dub is my first choice), and advance forward to where you started your thread.

Step 7: Palmer the schlappen feather through the dubbing and tie off at the point you started your thread earlier in Step 2. Trim the remainder of the schlappen feather and continue winding thread from back to front enough to completely cover the hook... this will give the glue in our next step something to hold to.

Step 8: Run a bead of Zap-A-Gap or equivelant CA glue along the top of the thread base and slide the ZB body onto the hook, twisting around as you go to spread the glue evenly around the thread base. Align the ZB body so it's straight and allow it to dry for a minute.

Step 9: Poke the Zuddy's Leg Puller into the side of the ZB body near the front and poke it through the body diagonally so it comes out near the back. Slide a couple rubber legs in the Leg Puller eye and pull the legs through leaving a little more out the front than the back. Repeat this on the other side as well.

Step 10: Add a small drop of Dave's Flexament or Softex flexible glue to the legs near the front and pull the glue/legs into the body. Repeat on the other side as well.

Using a flexible glue is very important as a CA glue will distort the rubber legs.

At this point your Zudbubbler is very fishy and I normally don't spend any more time on it. If you'd like to however, you can add spots to the body with a sharpie and even eyes to make it even more "Frog-ish". If you are missing fish on the hook set, you can bend the hook a little to increase the gap.


Finished "Zudbubbler"

Captain Matt "Z" Zudweg guides for Feenstra Guide Service and also owns BoneYard Fly Gear.


Friday, February 14, 2014

Z's Copper Rocket

For several years now I've kept this pattern un-named and pretty secretive as I've made slight changes to it. It's accounted for a number of my best fall steelhead days in recent years, although it isn't quite as consistant throughout the entire season as my Wicked Leech pattern. Many clients have tried to name it after it proved a day maker and one name seems to have stuck... the Copper Rocket. As it often happens, a proven trout fly made on a larger scale often makes a great steelhead fly. That is the case with this one as it is largely based off one of my best swung fly Trout patterns (Z's Olive Leech)... I've simply added a little more bulk and some proven colors of Flashabou. This fly is also completely made from synthetic materials.

Step 1: Place a Daiichi 2461 size 2 hook in your vise and wind gel spun 100 D thread to the rear of the hook. Tie in a sparse clump of Copper Ice Dub to the top of the hook, folding the remainder back and advance thread slightly forward.

Step 2: Tie in several more sparse clumps in the same way until you reach the front 1/3rd of the hook.

Step 3: Tie in a fairly large clump of UV Dark Olive Ice Dub in the same way, continuing to work towards the front of the hook.

Step 4: Tie in a fairly large clump of Copper Ice Dub. You should now be within an 1/8" of the hook eye, if not you can simply add another clump of Copper.

Step 5: Tie in a couple dozen strands of Senyo's UV Predator Wrap to the top of the hook as shown. I like to spread it around the top and sides evenly before lashing it down tight.

Step 6: Fold back the remainder of the Predator Wrap and tie it down tightly.

Step 7: Now add a few of your favorite Flashbou colors as an overwing. Again, I will spread this around the top and sides evenly before lashing tight. I typically start with Fuschia.

Step 8: For my second overwing, I typically use Copper Flashabou.

Step 9: For my final overwing I use Chartreuse Holographic Flashabou. Other colors I have found work well include Black Rainbow Polar Flash, Bullfrog, Purple and Perch Flashabou.


Tuesday, January 14, 2014

Zuddy's Copper Stone

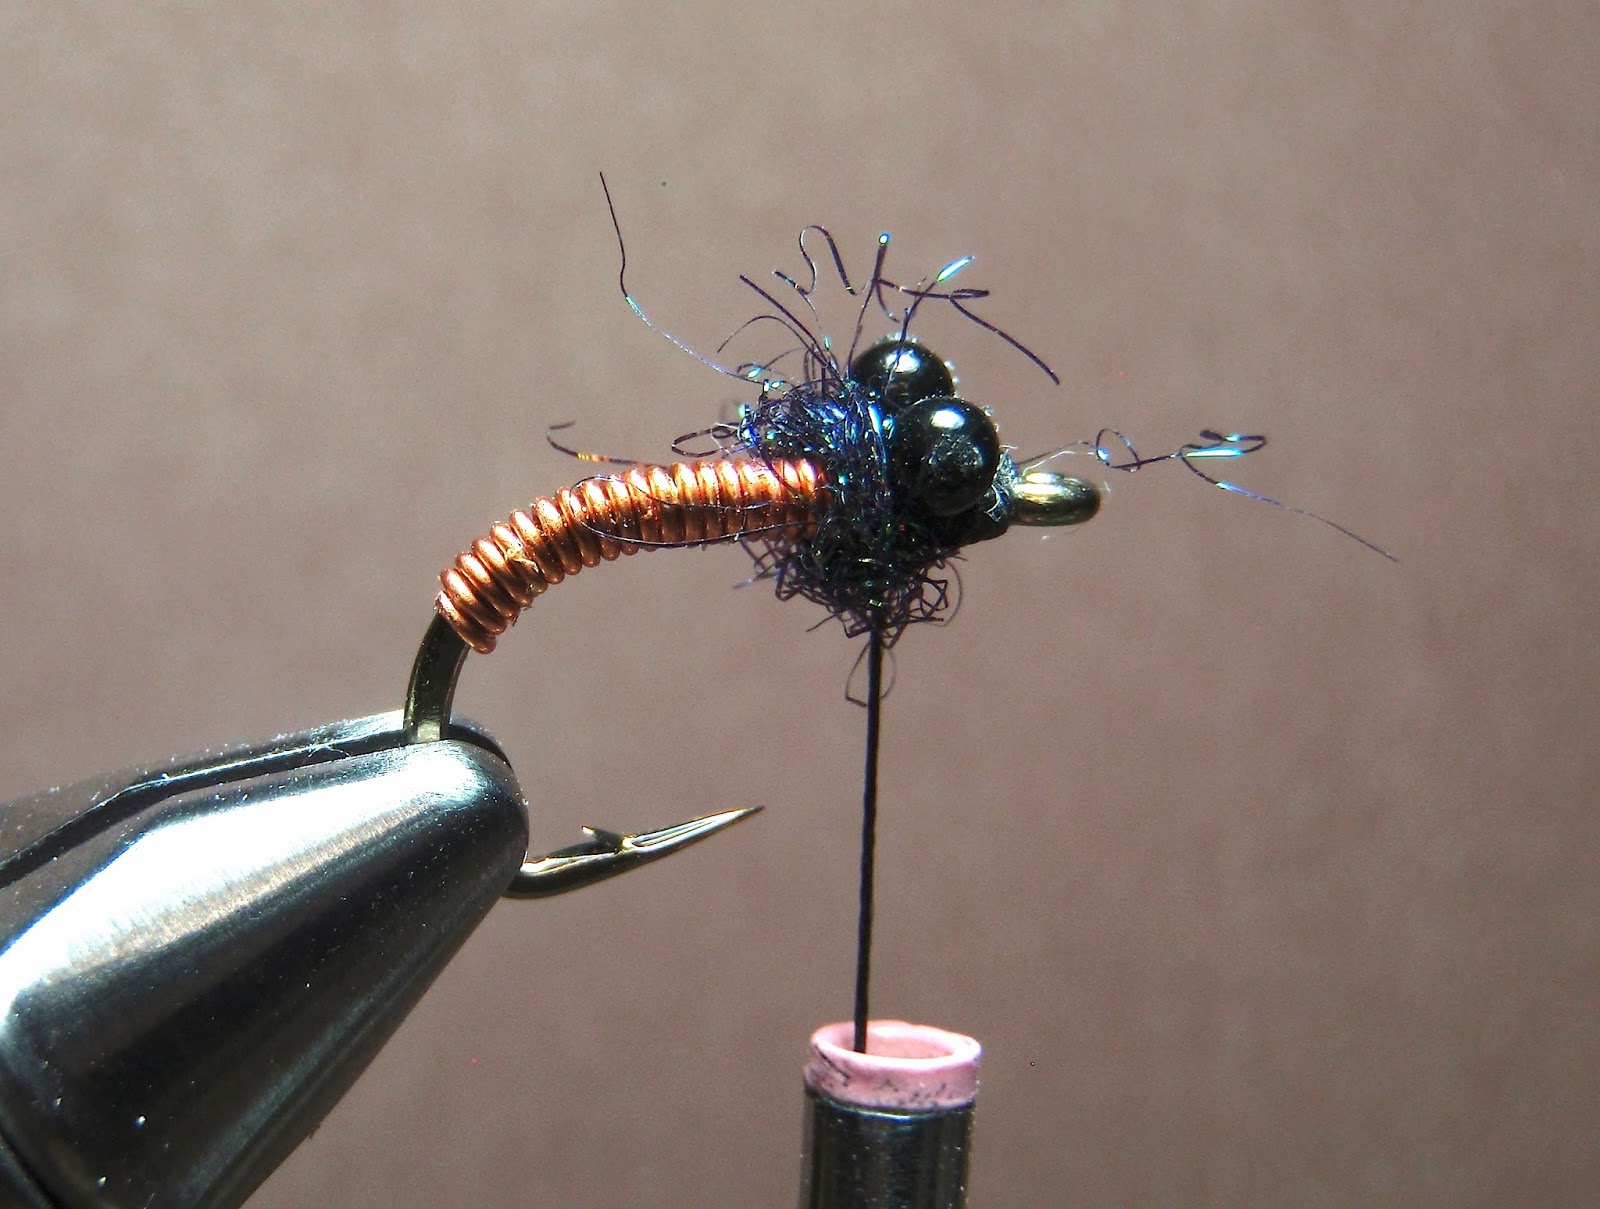
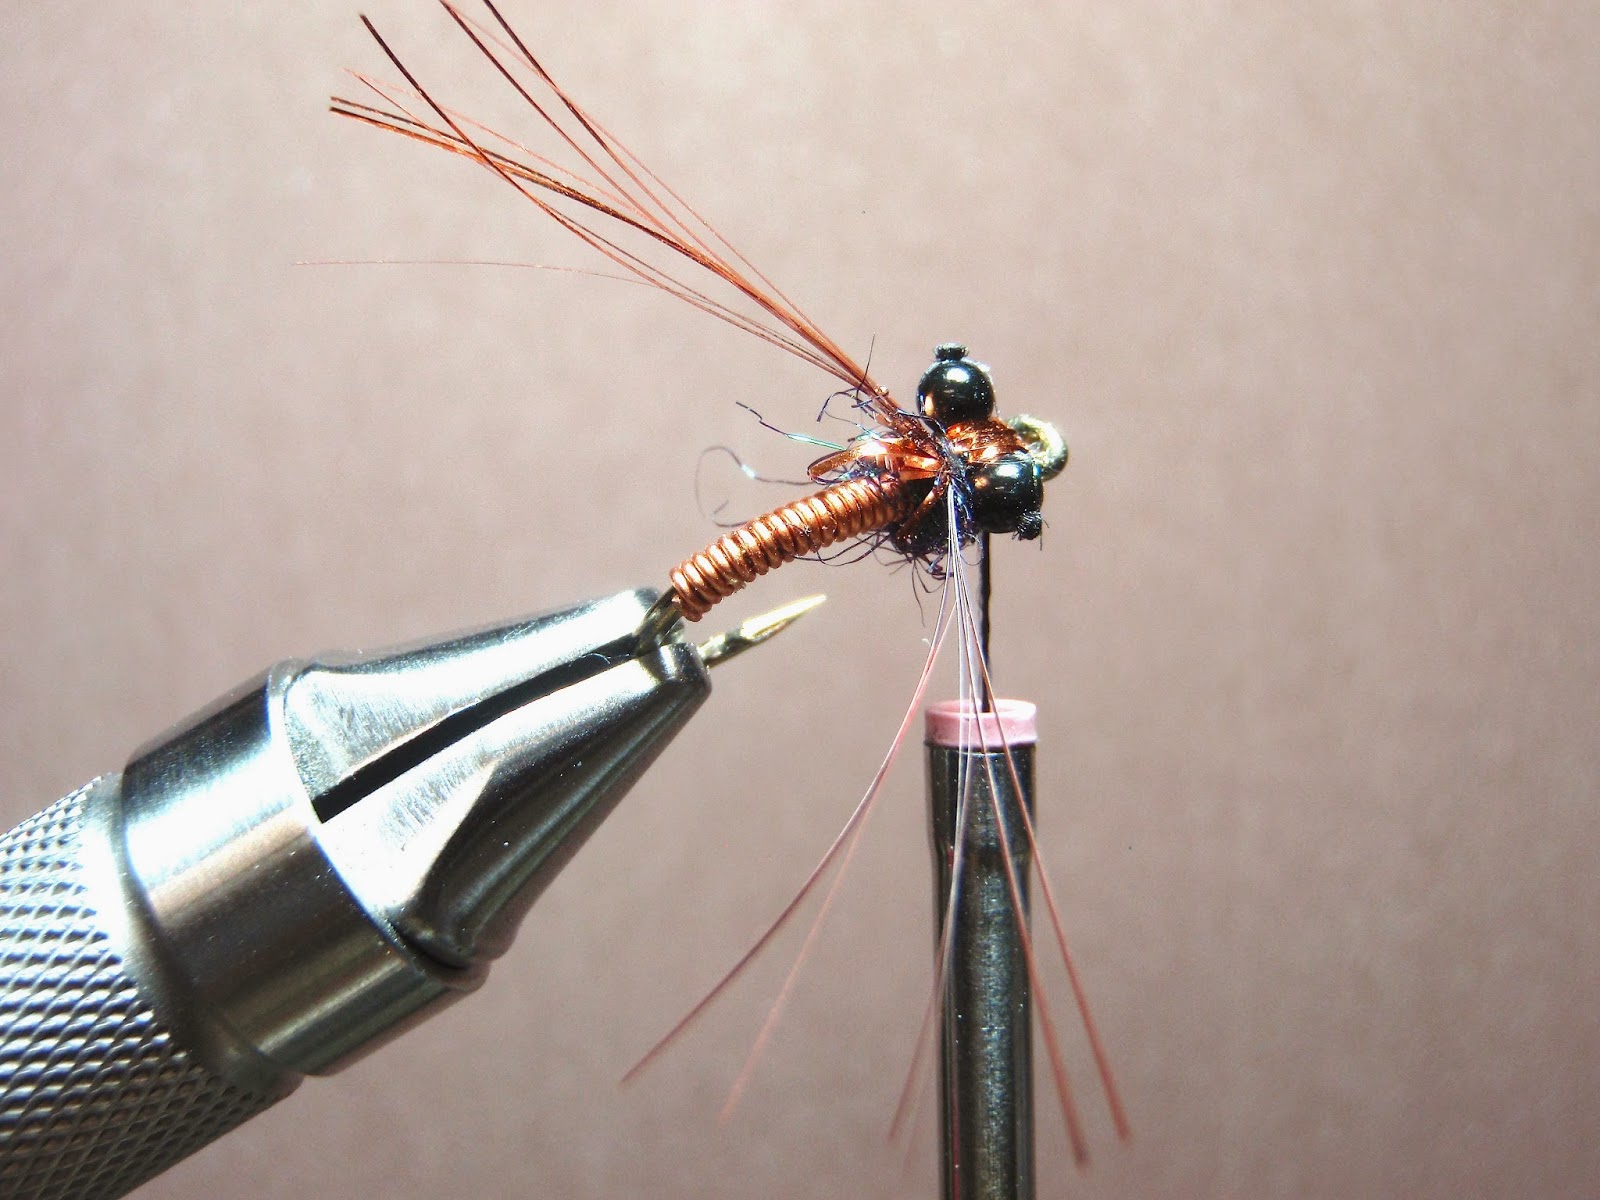
This is a pattern I've used for many years, during the spring months for steelhead. Based off the classic brassie, it's a pretty simple tie and a very effective pattern. Here are the step by step instructions.

Step 1: Place a Daiichi X510 Size 8 hook in your vice, attach Large Copper Ultra Wire to the top front of the hook using either 6/0 or 3/0 UNI-Thread. Whip finish and cut thread.

Step 2: Wind the copper wire tightly around the hook to the bend and break off. Re-attach thread just behind the hook eye and attach small bead chain or black mono eyes to the top of the hook.

Step 3: Attach a small amount of Peacock Black Ice Dub to the thread and wrap around just behind the eyes.

Step 4: Tie in about a dozen strands of Copper Flashabou on top of the hook both behind and in front of the eyes.

Step 5: Tie back half of the Flashabou on the left side and the other half on the right side of the hook as if they were legs.

Step 6: Trim the Flashabou legs and you're ready to fish!


Tuesday, September 10, 2013

Zuddy's Flux Capacitor

This summer has been great for catching bass on a white streamer! Most summers I tend to favor yellow, but not lately... the bass of late seem very keyed in on white. I've been working the kinks out of this streamer a little at a time and finally have it the way the bass like it best. It has been outfishing every sub-surface fly in my box recently.

It fishes great on a floating line with a 7' to 9' florocarbon leader (10-12lb. test). Fish it slow with a twitch pause retrieve just under the surface. The floro leader sinks just enough to keep the deer hair sub-surface, and the fat head pushes lots of water while making the bunny strip dance. Like most of my patterns, it's a quick tie. Here are the step by step instructions.


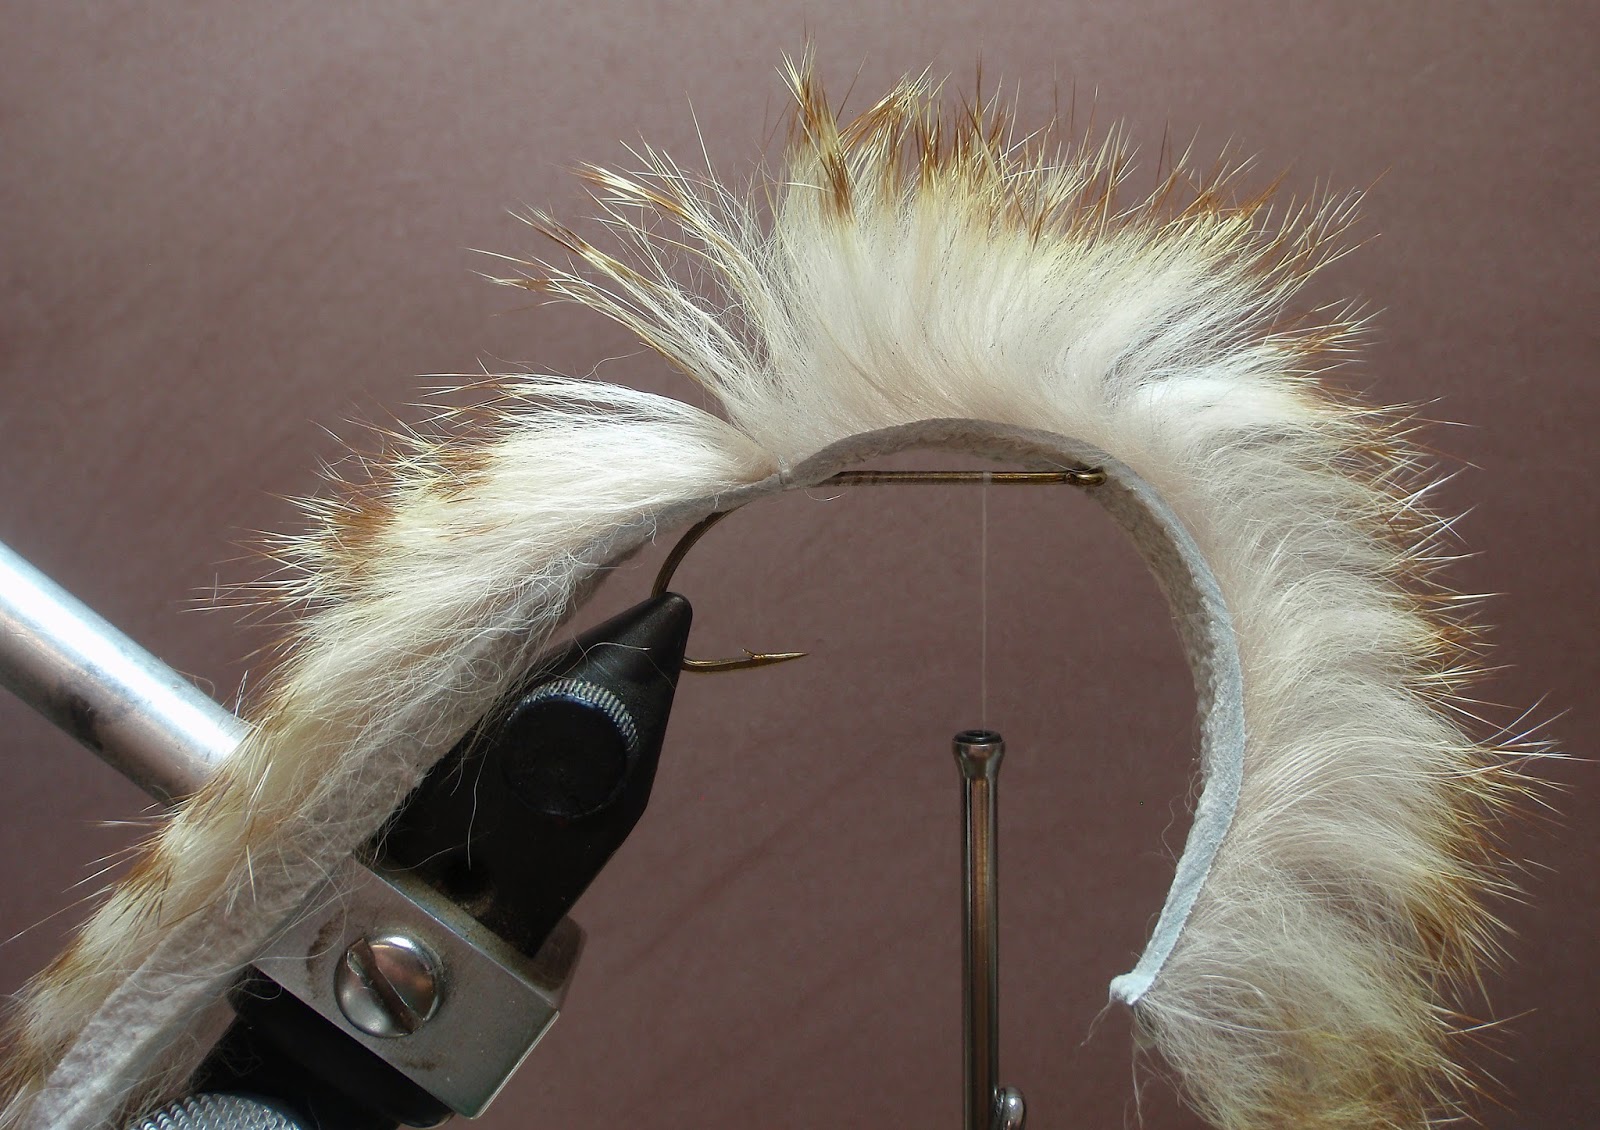
Step 1: Place a TMC #8089 Bass hook, size 8 or 10 in your vise, attach GSP 100 thread and wind to the rear of the hook. Attached an olive barred flesh tone rabbit strip with 5-6 tight wraps and advance thread toward the hook eye... leaving enough room for a deer hair head.


Step 2: Wind the rabbit strip forward around the hook (fluffing it as you go) and tie off, still leaving enough room for the deer hair head (approx 1/4"). Trim the rabbit strip so it hangs off the rear of the hook to your desired length... I like it about 2" behind the hook.


Step 3: Add a few strands of Polarflash #2014 (Pale Blue Rainbow) as an overwing. Trim Polarflash to the same length as the rabbit strip.


Step 4: Tie in a clump of white deer hair to the top only. Trim the head slightly as you would for a sculpin type pattern.

Front View

Easy as that!  Thank you for your support!

Zuddy's Flux Capacitor is soft, chewy and Bass-Approved.


Wednesday, May 22, 2013

Zuddy's Super Streamer

If you've seen my other tying tutorials then you know by now I'm not one to spend more than 4-5 minutes on a single fly... except maybe the Zudbubbler. The Zuddy's Super Streamer is no exception. Tied with just two materials, this fly is super simple and fast to tie, but a very effective streamer for trout and bass. Wait til you see the great action this streamer puts out when stripped on a sinking line using a strip, pause routine.


Step 1: Choose the streamer hook of your choice. Mine is a Daiichi 2460 size 1/0 for this fly. After securing the thread (Lagartun 100 D in white) start with the thread about the same distance behind the eye as the hook gape. Tie in a clump of buck tail (I typically use white, gray, yellow or natural). Using X-wraps tie to the back of the hook and back forward leaving a small head of hair flared out (this will help the flashabou in the next step move around better).


 Step 2: Tie in a few strands (or even quite a few) of flashbou (copper is a great choice) and spread them around the top and sides of the head before lashing them down securely.


Step 3: Tie in another clump of buck tail on the top of the hook, this time leaving the head a little bigger (as you would with a Zoo Cougar or similar fly). You should now have enough room for one more clump of buck tail behind the eye.


Step 4: Clip a final clump of buck tail, this time trimming both ends (as you would if spinning deer hair) and tie it in on top of the hook or spin it around the hook, whichever you prefer. Whip finish and remove the fly from your vise.


 Step 5: Trim the head flat on the bottom and taper the head back a little (sculpin style)... not too much or too perfect, this isn't meant to be fished on the surface!

Now get off your computer and go fishing!

Capt. Matt Zudweg guides on Michigan's Muskegon River for Smallmouth Bass, Trout and Steelhead. Check out his guide service at www.zflyfishing.com
Matt also owns www.boneyardflygear.com and www.carvedfish.com

Friday, March 15, 2013

New Tool! - Zuddy's Leg Puller

Big thanks to Marcos at Hareline for listening to my idea and making it a reality! Zuddy's Leg Puller works super and is a real time saver for pulling legs through foam, deer hair, etc.

Available at your local fly shop soon!

Dealers can find them at Hareline Dubbin, Inc.


Thursday, May 3, 2012

Zuddy's Copper Craw


A few years ago, a fellow guide and I both had the day off and decided to go after big brown trout on streamers. It was mid May and the water temp was about 60. It was also a little high and dirty... perfect! I decided to try a new streamer/crayfish pattern I had tied up the night before and within just a few casts we were on fish like CRAZY.... but they weren't trout, they were smallmouth bass... fine with me, I love smallies! Since then, the Copper Craw has become one of my favorite bass flies, especially when the water is under 70 degrees. I fish it on a 200 grain sinking line right on the bottom with short, crayfish like twitches. Try it out, it's a simple tie and the bass really go after it.

Step 1: Start with a Daiichi 2461 Size 1 hook clamped in your vise as shown. Using white GSP 100 thread, lash in 4 to 6 bead chain eyes on the top of the hook. I nearly always use 6, but they are easy to trim off in the field if it's too much weight. (By clamping the hook as shown you will be able to put more pressure on the thread without bending the hook).

Step 2: Advance thread to the rear of the hook and tie in a barred 1/8" rabbit strip as shown. Olive/black is shown, but white/olive works great as well.

 Step 3: Advance thread to front of hook, just behind the bead chain. Wind the rabbit strip forward and tie off. Trim the tail off so it extends approx. 1-1/2" beyond the hook bend.

Step 4: Prepare a large yellow or white mallard flank by stripping the rear feathers off and tie in by the tip just behind the bead chain.

Step 5: Wind the mallard flank collar around 3-4 times and tie off.

Step 6: Tie in a generous amount of copper flashabou just behind the bead chain, matching the length of the tail.

Step 7: Fold the flashabou over the bead chain eyes and lash down on the underside of the fly as shown. Trim flashabou to the same length as the tail. Advance thread to the front of the bead chain eyes and whip finish.

Top view of the finished fly.

Matt Zudweg guides for Feenstra Guide Service on Michigan's Muskegon River and also owns BoneYard Fly Gear. www.boneyardflygear.com